


Start with the CatEye AMPP900 if you want clearly stated steady-mode runtimes for a regular commute; compare the Lezyne Lite Drive 1200+ if you want its USB-C charging and optional external-power system. Both are front-light candidates, subject to your scooter’s mounting rules. Neither replaces a rear light and required reflectors.
The right purchase is a beam you can aim, a bracket that fits and a useful mode that lasts the whole journey. If your scooter manual discourages night riding, follow that restriction. These recommendations use manufacturer documentation, not measured beam or runtime tests.
Two front lights to put on your shortlist
CatEye AMPP900: for a commute you can plan around
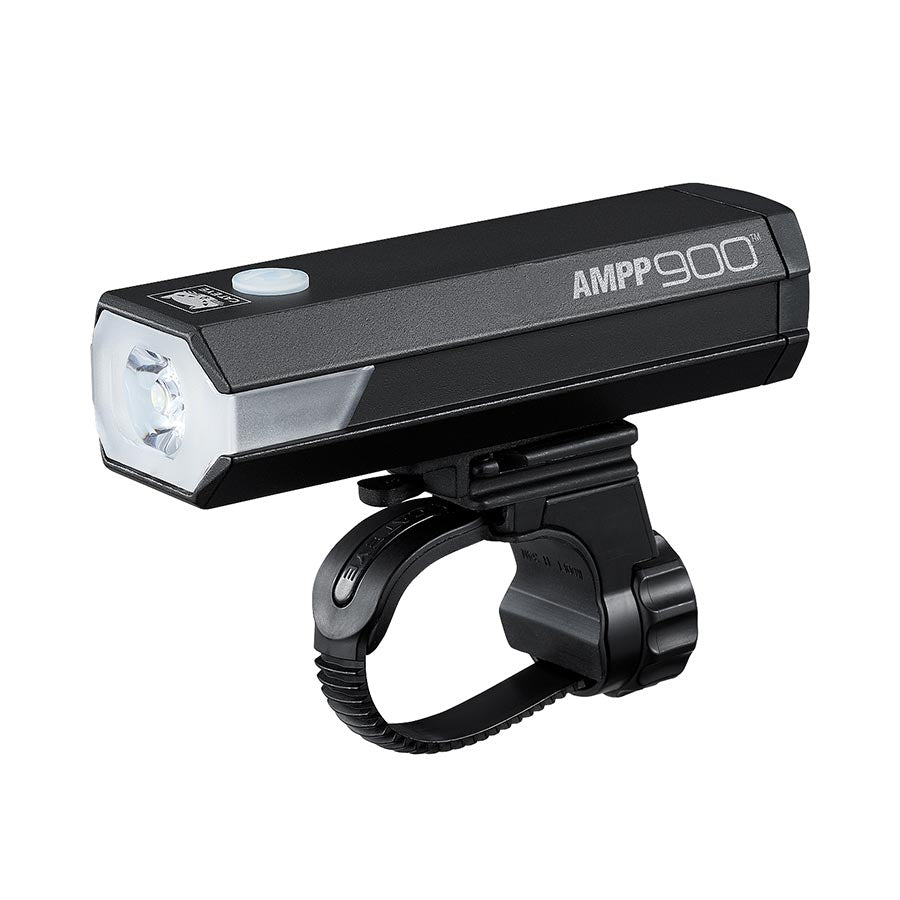
Who it suits: riders comparing steady brightness with a known journey duration. CatEye lists two hours at 900 lumens, three at 400 and five at 200. Choose a mode that lights your route adequately with reserve, rather than assuming the lowest setting is enough.
- Pros: clear mode-by-mode runtime figures; three-color battery indicator; USB-C recharging.
- Cons: maximum-output mode has the shortest listed steady runtime; the bicycle bracket is not a guarantee of scooter fit. A USB-C cable is not included.
Buy only after: checking the FlexTight bracket, your available mounting space and the permitted installation. Look for AMPP900 / HL-EL089RC, not another AMPP model with different ratings.
Search CatEye AMPP900 HL-EL089RC on Amazon US · Search CatEye AMPP900 HL-EL089RC on Amazon AU (paid links)
Lezyne Lite Drive 1200+: for riders considering an external-power option
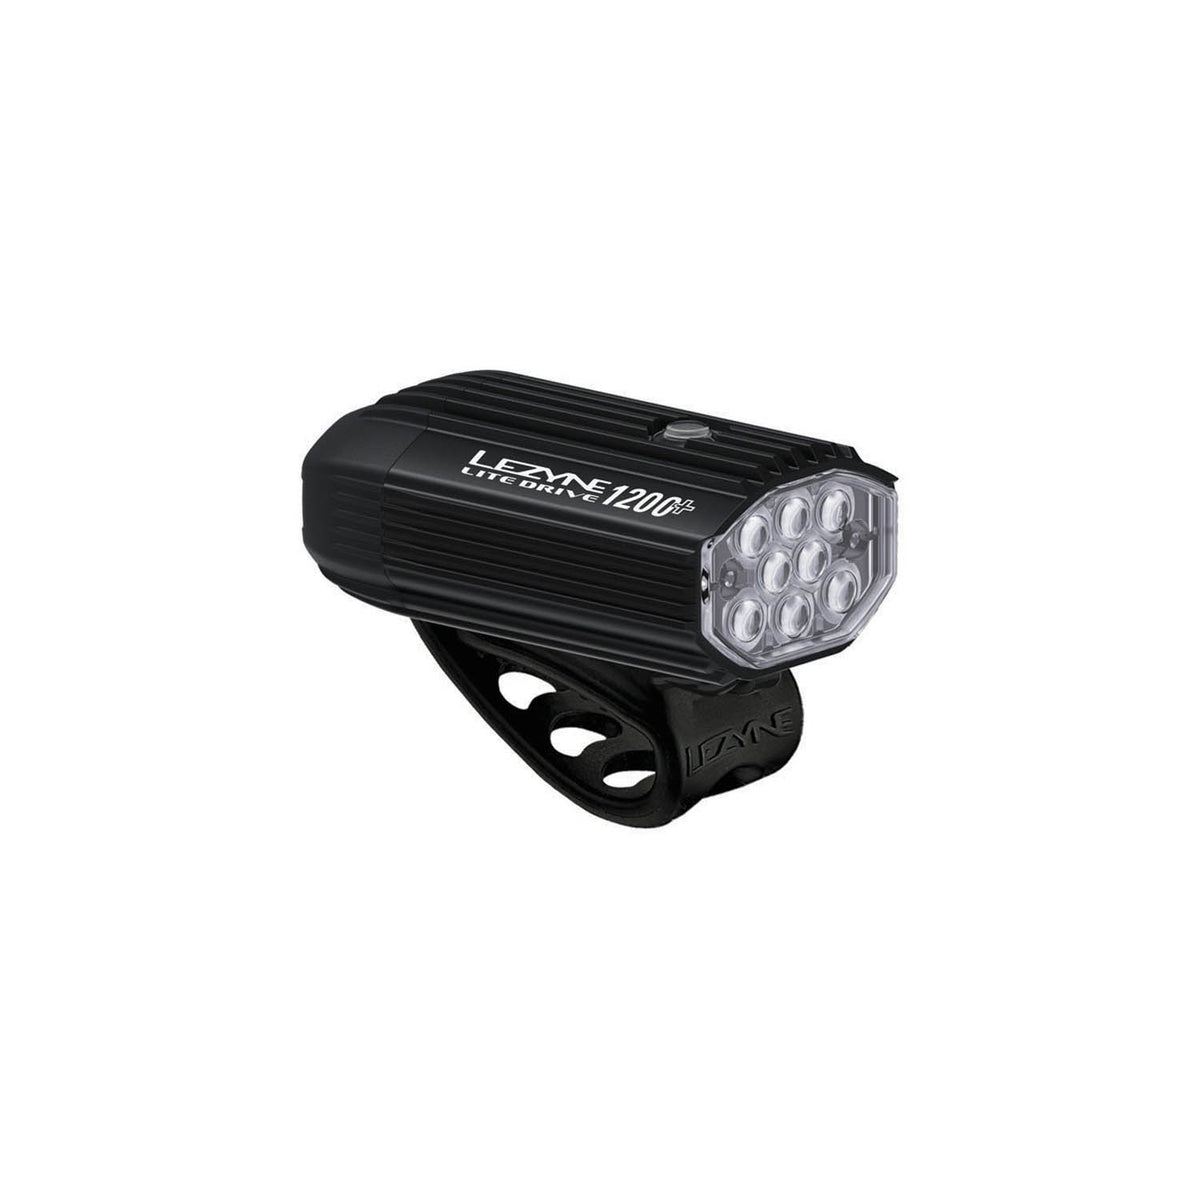
Who it suits: riders who want to compare a self-contained lamp with a manufacturer-supported route to longer operation. Lezyne lists USB-C charging and compatibility with its Infinite Light Power Pack+; the original non-plus pack is not compatible.
- Pros: multiple output modes and a documented optional power-pack system.
- Cons: the pack is an additional purchase and adds mounting/cable decisions; a USB-C cable is not included. The advertised 60-hour maximum is Femto mode, not 1,200-lumen operation.
Buy only after: checking the exact 1200+ version, the runtime of the mode you need and bracket fit. An external pack must have a safe, manufacturer-permitted location; do not improvise a handlebar load or loose cable to justify buying it.
Search Lezyne Lite Drive 1200+ on Amazon US · Search Lezyne Lite Drive 1200+ on Amazon AU (paid links)
Amazon search links open product-name results, not verified individual offers. Match the exact model and included parts, then check the seller, delivery, returns and current price. A search result does not establish stock or compatibility in either country.
What else do you need?
Keep a working, unobstructed rear light and the reflectors required for your route. If your built-in rear light is adequate and legal, prioritize the missing front-road illumination rather than buying a bundle. If you need a separate rear lamp, confirm its attachment and visibility with you and your luggage in position before ordering. A front-light upgrade alone is not a complete night setup.

Give each part of the setup a clear job
- Front road light: helps reveal the surface and obstacles ahead. Choose a steady mode for continuous illumination.
- Rear light: helps people behind identify your presence. It must remain visible with you and your bag in normal riding position.
- Reflectors and reflective material: add visibility when another light shines on them. Keep the scooter’s required reflectors fitted and uncovered.
- Backup plan: a charged spare light can help if a lamp fails. If it cannot illuminate the route adequately, stop riding and arrange another way home.
The US Consumer Product Safety Commission’s micromobility guidance recommends visibility accessories and following local traffic rules. Lights do not mean other road users have seen you, and they do not remove the need to slow down around obscured crossings or uneven surfaces.
Choose the beam before chasing more lumens
Lumens describe total light output; the optical design determines where that light goes. A concentrated central spot can look impressive on a wall yet leave the edges of a path difficult to read. An excessively broad beam may waste light above the road. Look for a manufacturer beam image or comparison that shows both the area ahead and the surrounding edges.
For shared paths and streets, consider a road-oriented beam with a defined upper cutoff, then follow its aiming instructions. A cutoff helps control upward spill but does not make poor aiming harmless. Busch + Müller’s IXON Rock manual, for example, instructs users to align the light so oncoming traffic is not dazzled and the cutoff remains visible on a level road.
There is no single lumen figure that makes every scooter, speed and route safe. Street lighting, bends, surface color, weather and your eyesight all change the task. If you cannot identify hazards early enough to stop comfortably within the clearly visible section ahead, slow down or choose another route. Extra brightness cannot reveal what is hidden around a corner.

Read the runtime for the exact mode
Maximum brightness and maximum runtime usually describe different settings. On CatEye’s AMPP900 specification, the listed steady runtimes are two hours at 900 lumens, three hours at 400 lumens and five hours at 200 lumens. Those are manufacturer figures, not ScooterGenius test results or a promise for your conditions.
The same trap appears in headline numbers: the Lezyne Lite Drive 1200+ page advertises up to 1,200 lumens and up to 60 hours, but identifies the 60-hour setting as Femto mode. Do not combine those maximums into a fictional 60-hour, 1,200-lumen runtime.
Use a simple planning example. Two 35-minute rides plus a 20-minute delay allowance need 90 minutes of light. Selecting a suitable steady mode rated for at least two hours leaves 30 minutes beyond that plan. That is an illustrative margin, not a guarantee; verify real usable runtime on your own route and allow more reserve when the conditions or battery condition warrant it.
Include time spent waiting with lights on and any missed charging opportunity. A long flashing-mode rating is irrelevant if you need a continuous road beam. Check charge time and the low-battery indicator, and recharge before a routine ride starts depending on the last few minutes of the battery.
Mount securely, then aim while stationary
- Check compatibility. Confirm that your scooter permits the attachment and that the bracket suits the actual tube diameter and shape. A bicycle accessory is not automatically a scooter fit.
- Protect the controls. Leave full brake-lever travel, throttle access and steering movement. Avoid cables, folding joints and tapered surfaces unless explicitly supported.
- Use the specified mounting method. Fit the supplied inserts and follow the tightening instructions. Do not invent a torque value or add a long improvised extension.
- Aim on level ground. Follow the light’s instructions, with the scooter in its normal upright position. Check useful road coverage and upward glare.
- Check under your actual load. With a helper and a stationary scooter, confirm that your body, bag and clothing leave both lights visible.
- Recheck after a short controlled ride. A beam that droops over bumps has a mounting problem. Stop to fix it before continuing.
Do not splice an aftermarket lamp into the scooter battery unless the scooter manufacturer explicitly supports that exact installation. A self-contained lamp avoids guessing about voltage, connectors and the scooter’s electrical system. Do not assume a USB-equipped light supports charging while running or exposed to rain.

Check local requirements for the route
Rules differ across US jurisdictions and Australian states and territories. Check where your particular scooter is permitted before treating a light purchase as the final compliance step.
As one specific example, Queensland’s personal mobility device rules require, at night or in reduced-visibility weather, a white front light and red rear light visible from at least 200 meters, plus a red rear reflector visible from at least 50 meters under vehicle headlights. The page allows steady or flashing lights. These are Queensland requirements, not a nationwide Australian or US standard.
A visibility distance is also not the distance over which a light will reveal potholes. Keep the legal visibility check separate from your road-illumination check.
A one-minute check before leaving
Turn on both lights, confirm the intended modes and battery indicators, wipe the lenses, check mount security and make sure luggage blocks nothing. Carry any permitted backup where you can reach it after stopping. If conditions exceed the scooter’s weather limits or your ability to see and stop, use another way home.
Keep beam shape, useful steady-mode runtime and mounting compatibility together on your shortlist. For related equipment topics, see our accessories section. Reflective clothing can provide an additional visibility layer, but it does not replace the required lights.
Our buying recommendation
Put the CatEye AMPP900 first on your shortlist for a regular commute where its stated steady-mode runtime meets your needs. Choose the Lezyne Lite Drive 1200+ when its mode chart and optional power system solve a specific need on your route. In either case, mounting permission, glare control and a visible rear light come before the purchase. If the bracket cannot fit securely without crowding controls, choose another setup.
Search CatEye AMPP900 HL-EL089RC on Amazon US · Search CatEye AMPP900 HL-EL089RC on Amazon AU (paid links)
Sources and further reading
- CPSC Micromobility Information Center
- Busch + Müller IXON Rock Instructions
- CatEye AMPP900 Manufacturer Specifications
- Lezyne Lite Drive 1200+ Manufacturer Product Page
- Queensland Rules for Personal Mobility Devices
Manufacturer information and linked guidance checked October 17, 2026. Specifications and local rules may change.
